


Eyebrow Micropigmentation
The main goal of eyebrow micropigmentation is to add pigments to your eyebrows and fill in patchy areas by using a digital machine equipped with tiny needles. The eyebrows and desired look are outlined, then the machine deposits pigments into the epidermis (outer skin layer). The result is a thicker, yet still very natural-looking eyebrow. Micropigmentation is semi-permanent, lasting typically from two to five years, though sometimes up to eight. The fading process is gradual, with the pigment gently growing lighter in color over time. It’s a good option for people who want a subtle and natural-looking eyebrow appearance. Natural-looking, elegantly shaped eyebrows are like the final frame on a beautiful painting. The problem though is that the perfect eyebrows are not always attainable by shaping and plucking or other home care methods. Patchy hair growth, hair loss, or medical treatments can result in less hair than we need in order to get those beautifully defined, gently arched brows. These are some of the main reasons why micropigmentation is still such a popular treatment for women looking for the best brows. Are you curious about micropigmentation and would like to know exactly how it all works? Grab a warm beverage and read on, here’s exactly what you need to know about semi-permanent eyebrows.
What is Micropigmentation?
Micropigmentation (also referred to as semi-permanent makeup) is a non-invasive cosmetic treatment that deposits pigment into the skin, typically over the eyebrows or scalp. It can also be used for colour correction of the lips, as a form of semi-permanent eye makeup, and to improve the appearance of scars or discolouration on the skin. The terms micropigmentation and microblading are often used interchangeably, but shouldn’t be as there are key differences. Micropigmentation is performed using a tattoo-like device that penetrates the skin to deposit various colour pigments. Microblading is more of a manual process that makes use of a fine blade or needle-like pen to access the superficial layers of the skin to deposit colour. Because micropigmentation works on the deeper skin layers, it last longer; usually between 12-18 months.
What Can You Expect During Your Procedure?
With the definitions and explanations out of the way, let’s talk about your first visit. This step-by-step guide should set your mind at ease to allow you to mentally prepare for the procedure.
Step 1 – Consultation & Natural Eyebrow Analysis
We’ll start by looking at what you currently have and determine the natural shape of your brows. This will give us an idea of how we will tackle your procedure and what results you can expect. It’s a good idea to arrive for your appointment with your eyebrows made up as you would normally have them so that we can see what your preferences are. We like to take photos before, during and after the procedure so that we can track our starting point and compare our progress at various points along the way.
Step 2 – Measurements
The next stage involves using rulers or callipers to measure the position of your new brows so they are even. Our recommendations will be based on the natural shape of your brows and what best fits your face. During our consultation we would have established what final look you would like to achieve; whether you want a natural look or a more intense finish. Either way, you can rest assured that the result will be beautiful and natural.
Step 3 – Pencil
Once we agree on the shape and overall finish you desire, we will draw on the eyebrows. This won’t be representative of the final look, since the colour won’t be matched to your skin tone just yet. Also remember that the pencil gives a solid look rather than representing soft hair strokes or powder brows, so don’t fret if this isn’t exactly what you want. It is just to get an idea of the shape and positioning before we start depositing the pigment. We tend to spend a fair bit of time on this step as it’s important to get right. Your brows will be on your face for a few years yet, so we are super careful to get this 100% correct.
Step 4 – Mixing the Colour
Again, this will have been discussed during your consultation where we would have determined the best shade for your new brows. The right colour will blend perfectly with your natural tones. Once we have mixed the correct tone, we’ll double check that you’re happy with the colour and then we can proceed.
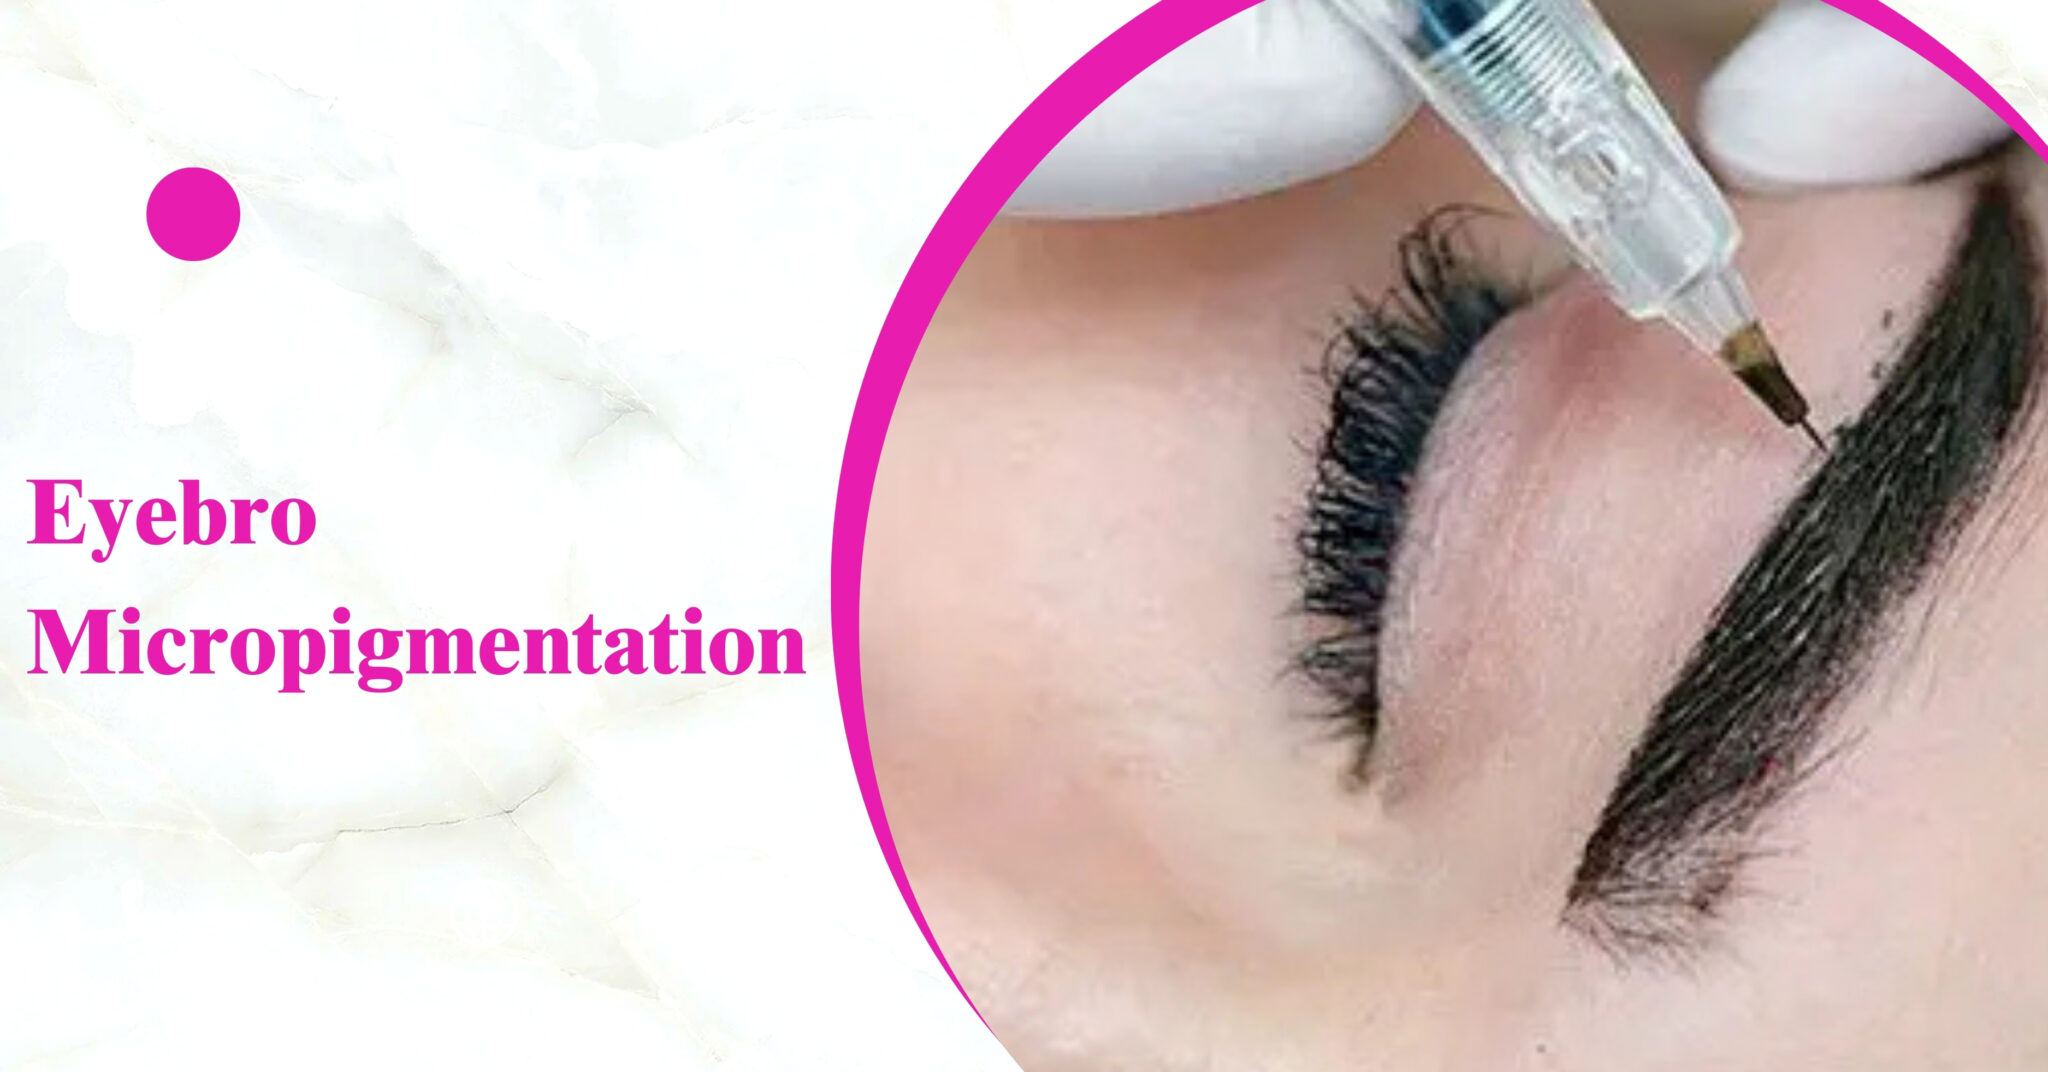
Step 5 – Micropigmentation Process
This is usually the part that makes our clients a little nervous! You should not be overly concerned about pain. Everyone has a different pain threshold, but generally speaking, the sensation is just an annoying scratching that your body quickly adapts to. If anything, you are most likely to sneeze and get a runny nose! Skin is pre-numbed for 15-20 minutes before the procedure, then more numbing is applied if needed. Usually, clients feel a 2/3 out of 10 pain wise. Some feel nothing. Please remember your comfort is key, so the best numbing solutions are applied. You can expect to feel light pressure and buzzing of the machine. Your eyes can water and you will probably sneeze! Once the layers are finished, your eyebrows can be fairly red and a little inflamed. This redness will disappear after a few hours. Remember too, that your brows will be about 40-60% darker straight afterwards compared to when they are healed. They will look quite pronounced but should settle in a few days.
Step 6 – Time to Heal
At this point, the brow area is like an open wound in many respects. You must take care to keep it clean and dry to avoid infection. Post-procedure care is an important part of caring for your brows. You will be given aftercare instructions which include:
- No exercise for a week as you must avoid sweating
- Keep them as dry as possiblefor 10-14 days. (This may seem like a long time but it is necessary.)
An aftercare cream or oil will be provided with full aftercare instructions.
After 5-7 days they may start to itch as the skin is healing, which is perfectly normal – try not to touch them!
The colour will continue to fade over the next few weeks as part of the healing process, but the final result will be a natural tone that suits your colouring.
Step 7 – Touch Up Session
We will need to see you again for a second session 6 – 8 weeks after to achieve the final full effect. Here we will discuss the results so far and decide how much more you want to add in. The process and aftercare is the same as before – do not get them wet!